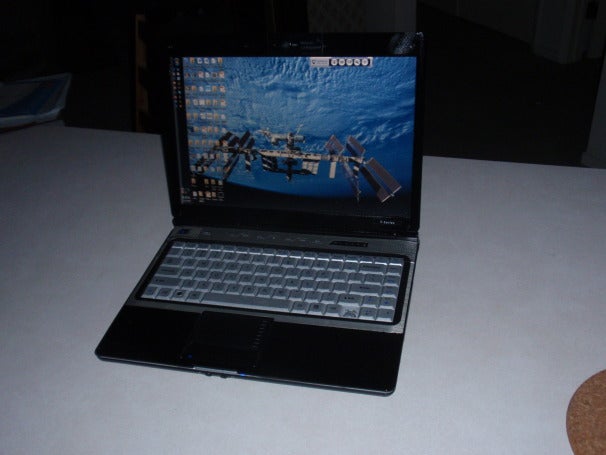
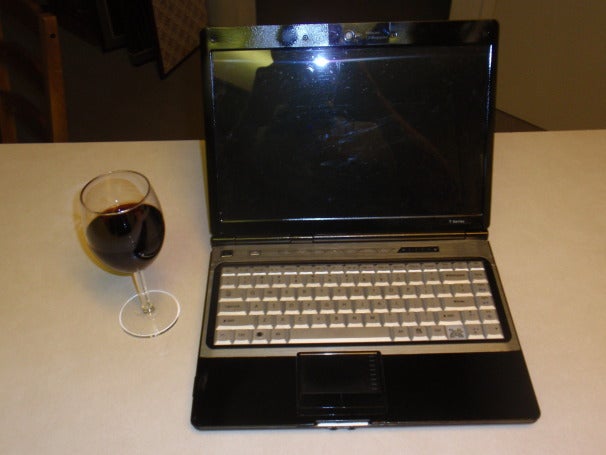
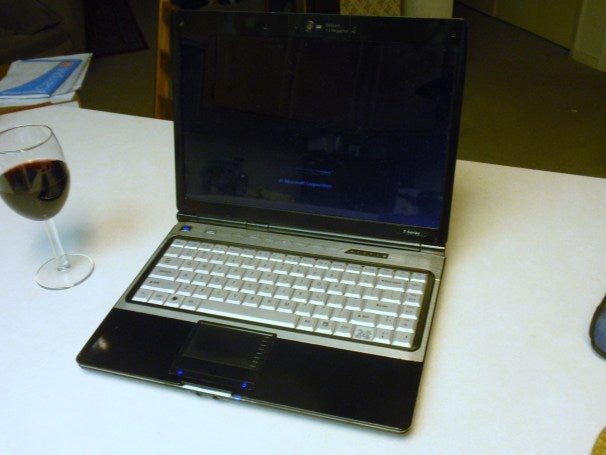
It looks almost brand new, doesn't it? (OK, ignore the missing key; that's a repair for another day.) Using cheap and simple materials that you can find in any hardware store, you too can repair chips and repaint your laptop to make it look practically brand new. To get started, all you need are the appropriate tools and an afternoon!
Disclaimer
Perform this repair at your own risk! You will be working with chemicals and materials (spray paint, etc...) that may be harmful if misused. Use the repair materials properly and according to the manufacturers' instructions, and take the recommended safety precautions. PCWorld is not responsible for any problems you encounter, including but not limited to a fried laptop. Don't say we didn't warn you...
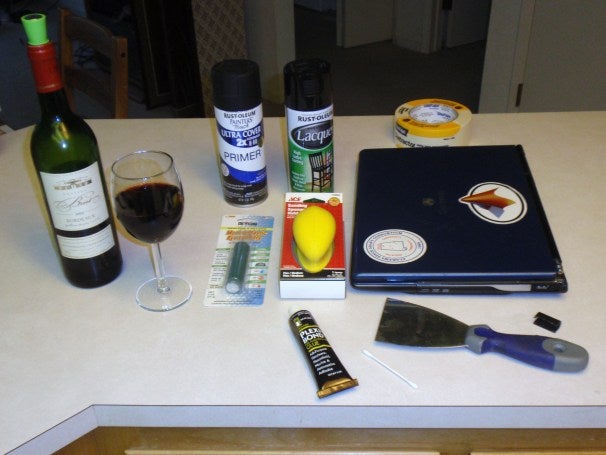
So let's get this party started. You'll need the following supplies:
- Laptop (you could probably apply these same steps to a PC case or other electronic devices) - $$$
- Plexi Bond Glue - $6.99
- Marine/Plastic Epoxy Putty - $3.99
- Cotton Swabs - $5.74
- Putty Knife - $9.49
- 2 Inch Contractor Paint Masking Tape - $3.99
- Sanding Sponge Holder and Medium-Grit Sanding Sponge (normal sand paper would work too, but a Sanding Sponge lasts longer and is easier to use) - $6.99
- Newspaper or Cut-Up Paper Bags - Free when you checkout at a store
- RustOleum Primer (get the same color primer as your finish or final coat) - $3.99
- RustOleum Lacquer - $4.99
- Wine (this is optional--and for those old enough to drink!) - ~$10
Total: $56.17 (not including tax)
Prices may vary depending on where you shop. I picked up almost all of these supplies at my local Ace Hardware (the wine excluded), but you could probably get all of them at Walmart. Also, you only use a small portion of each of these supplies, so you may have just spent $56.17 on supplies but the reality is that you could repair and paint a half dozen (or therabouts) laptops with these supplies. In other words, you'll have plenty left over for other exciting projects.
Pre-lab
The first thing you'll want to do is prepare your supplies and pour yourself a glass of wine (drink responsibly!). Usually you want to do an appropriate pairing with your meal; I chose a wine, Briot Bordeaux, that goes with sweet food, seeing how totally sweet this repair is.
Chip Repair
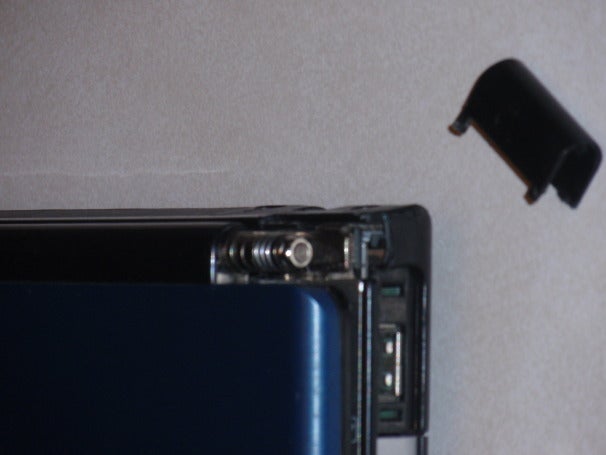
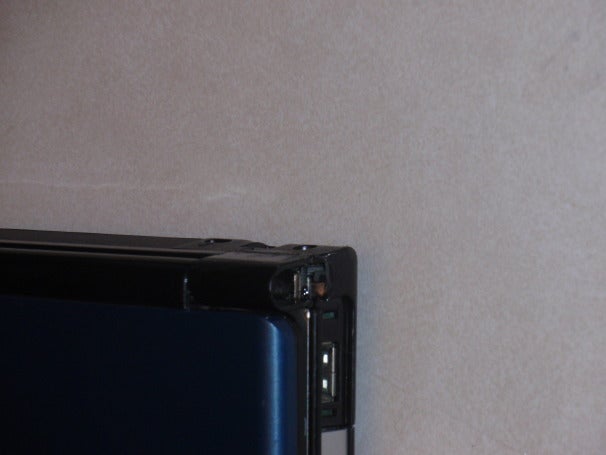
In case you're wondering, yes, I dropped this thing on the pavement. Multiple times.
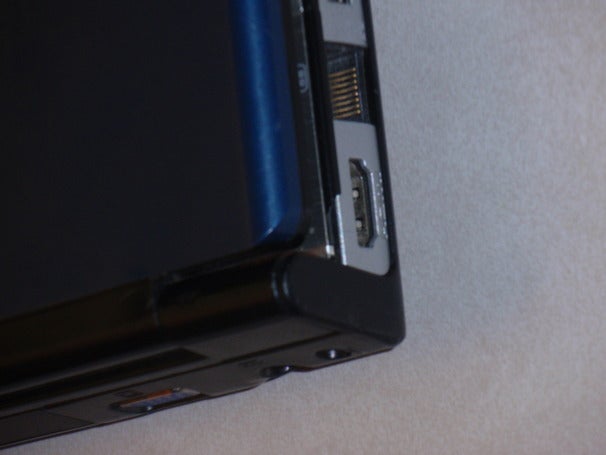
This is the other side of the laptop--what it's suppose to look like:
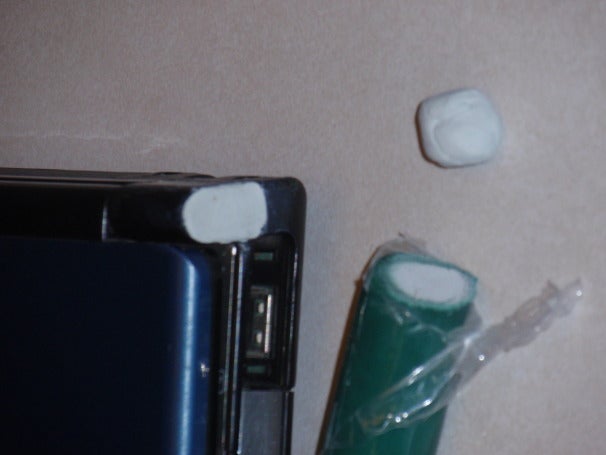
To fix this, take your sanding sponge and rough up the edges of the broken-off plastic chip and the edges on the laptop. Then take the Plexi-Bond, a good all-purpose adhesive, and coat the edges of the chip using a cotton swab. Push the chip back into place on the laptop. As you can see, there is still a missing chunk of plastic that I didn't manage to find.
You can fill this gap by filling it with an Epoxy putty. Almost any kind of epoxy putty will work, but I chose a marine putty for its superior water resistance. Unwrap the putty and cut off a small piece and then mush it together (it comes as a two part epoxy) and fill the gap like so:
Let this dry for whatever time is designated on the package--in my case. it dried hard in an hour and finished curing in 24 hours. Since I wanted to knock this entire project out in an afternoon (and because I'm lazy), I decided that an hour was enough, and that it was time to get on with the show.
Cleaning and Taping
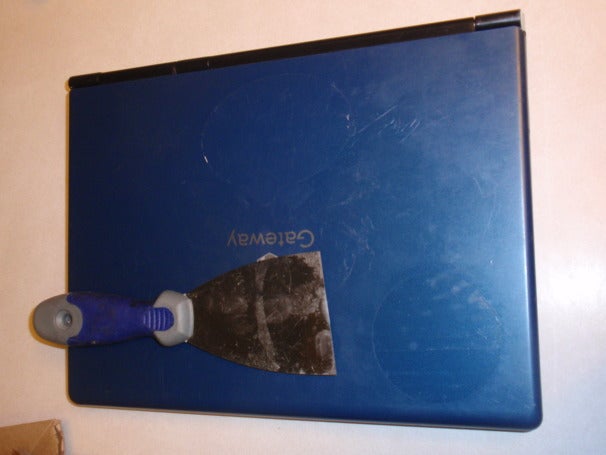
In this next step you'll want to remove any logos that you might have on your laptop either for aesthetics, advertising purposes, or to simply cover up some scratches. I used a putty knife to scrape them off. There was some residue so I really had to apply some pressure to get it off. If there is still some residue then you can apply some acetone to remove it and if that doesn't do the trick then pick up some Methyl Ethyl Ketone, a strong industrial solvent, but be careful; this stuff will make you nauseous if you inhale it.
Don't forget that there might be some logos on the inside of your laptop; you can either remove these or cover them with tape. I chose to remove them.
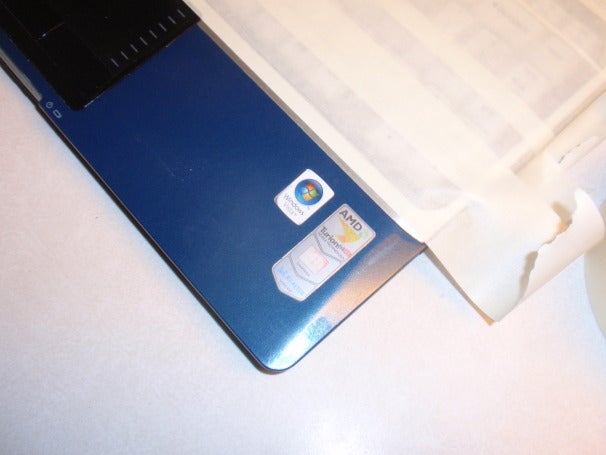
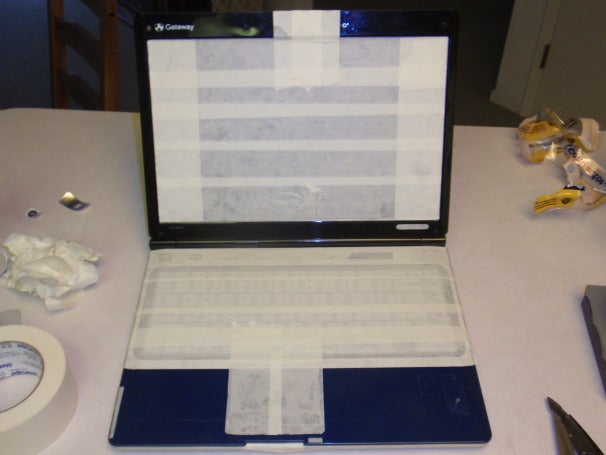
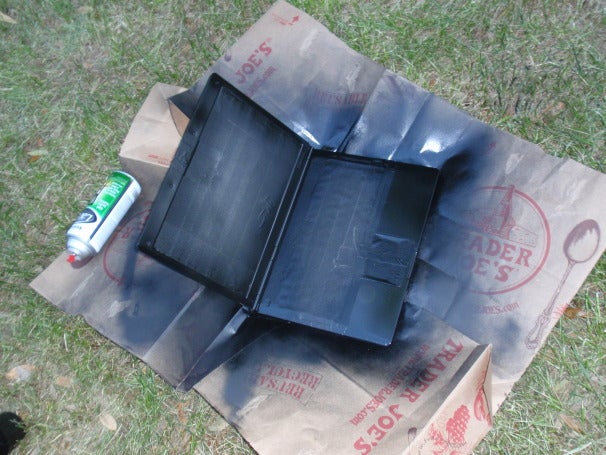
Now it's time to tape up the laptop. You're going to want to cover any open areas and anything else that you don't want painted. I covered every vent, the entire underside of the laptop, the screen, the touchpad, lights, and so forth.
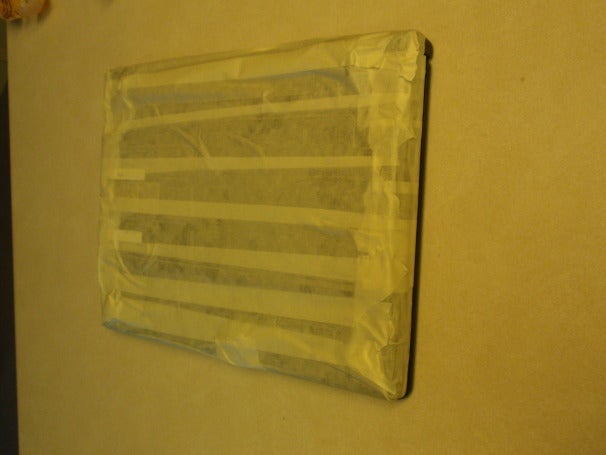
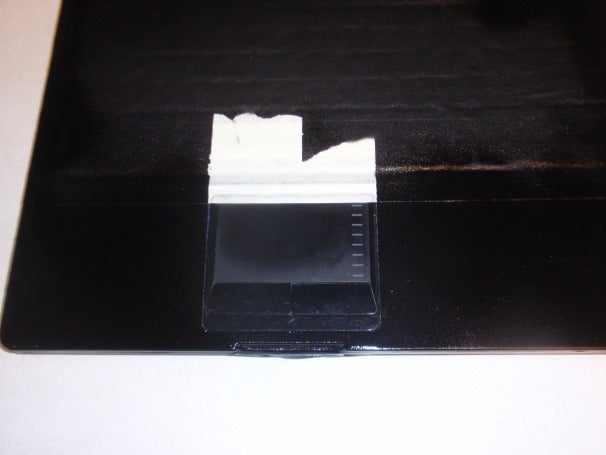
Also, since it was so hard to cut pieces of tape small enough and of the right shape to cover just the embedded camera and microphone I decided to just cut out a strip of tape and cover the whole thing. It looks a little weird up close because you can tell the difference between the factory finish and the DIY finish, but from a distance it looks like a brand new laptop. I also cut out little strips to cover certain words like "on" and "off" for my manual wireless switch; that way if something like an LED indicator ever stops working, I'm not sitting there trying to figure out what's wrong. So in the end you get something like this:
Sanding
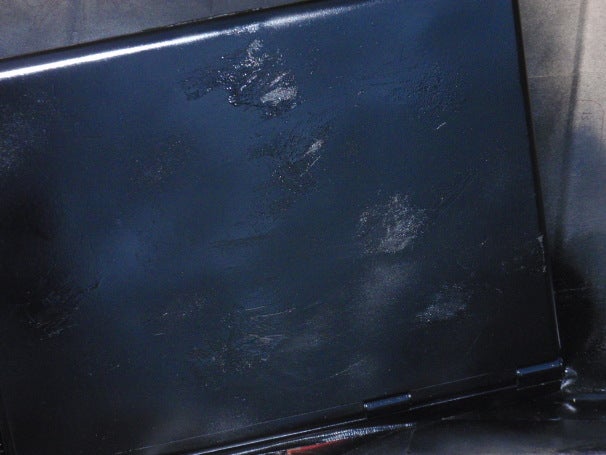
Now that your laptop is all taped off, take your sanding sponge and sand everything that isn't covered in tape. You'll want to make sure that your laptop is somewhat roughed up so that the paint sticks, but there's also no need to sand it so much that you decrease its structural integrity. Just get it to look something like this and you'll be fine:
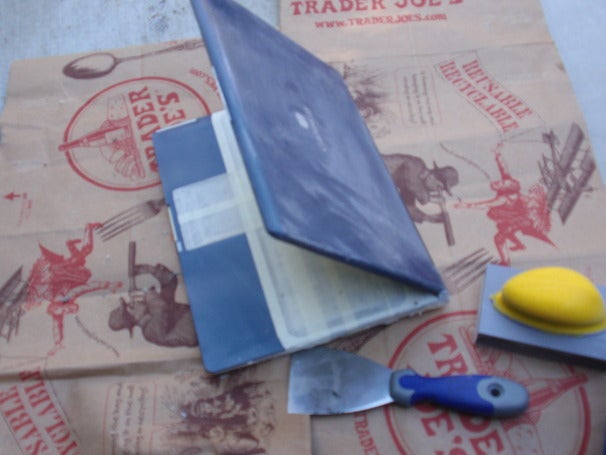
Oh, and don't forget to sand the epoxy putty that you installed. Depending on where you installed it on your machine you'll want to shape it so that it looks the least out of place. Try and get it to look like the original piece.
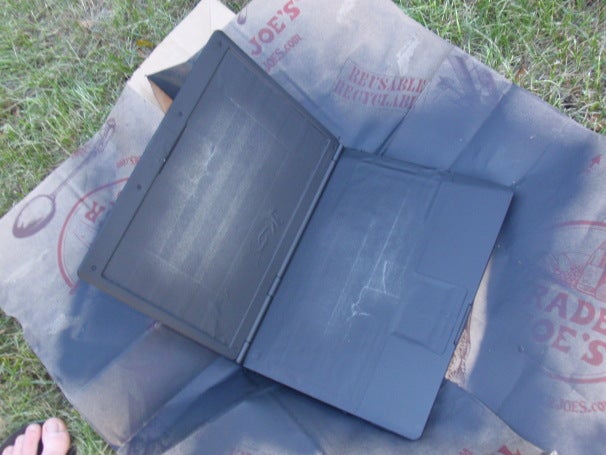
Priming
This step isn't absolutely necessary but I highly recommend it. Now that your laptop is rough you'll want to apply a coat or two of primer. Primer helps your next layer of paint adhere to the surface. You'll also want to get a primer that's the same color as your top coat color (and I'm not talking about a a clear protective coating, I'm talking about that shiny black or automotive color that you want your laptop to look like), this will ensure that if your top coat is scratched then you won't have some obscure color like pink showing through.
If anything is still going to break, this is the moment you'll find out. So now's a good time to take a short break--feel free to take a sip of Bordeaux and listen to some smooth jazz before proceeding.
Wipe off any dust from sanding with a damp rag. Then shake your can of primer and give your laptop a light coat all the way around. If you're using RustOleum, you'll want to apply a second coat within one hour. I applied a second coat 20 minutes after the first and then I let it dry for one hour before proceeding onto painting the topcoat. The primer looks like this when finished:
Topcoat
You're almost finished! Now that your primer is dry to the touch, shake your can of topcoat vigorously, and give your laptop a coat all around. I did the front and back at the same time; the paint won't drip if you apply a light coat. Let the paint dry for about ten minutes and then apply another coat. I did this about three or four times until it had a nice shiny finish.
Unfortunately, on one of those coats I held the spray bottle too close to the back of the laptop and I got a very unpleasant drip.
If this happens, let the paint dry until you can touch it without it smearing and then sand the area smooth with the sanding sponge. Then reaply your topcoat. I suggest that you let your laptop dry for a few hours before peeling the tape off.

If you want, you can also appy a protective clear coat to help seal and protect your laptop. Depending on the topcoat that you chose this may not be necessary; I did not apply a clear coat.
Peeling the Tape
Now that the paint has dried you can begin peeling off the tape. Do this very slowly so that you don't accidently pull up any paint. You can use a razor blade to help pull up the edges of the tape if you have any problems.
When I finished my laptop looked almost brand new (minus the missing key of course):
I also found that the contractors' masking tape left absolutely no noticeable residue on my laptop--not even on the vulnerable screen.
Startup
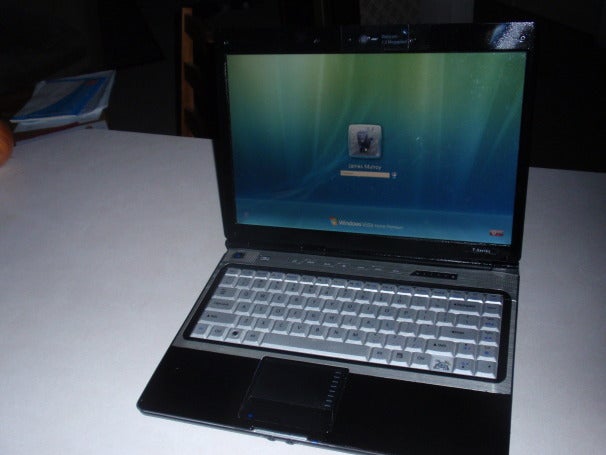
It's now time to conclude this and see if everything that we worked for has worked without breaking anything. Again, take a swig of wine and brace yourself for the worst. Put in the battery and hit power.
VIOLA! It works! The moment that you see "Microsoft Corporation" or whatever other thing your laptop does when it's turning on then you know that it's time to celebrate.
Houston, we have completed the mission (and yes, that's my adorable rabbit-eating dog, Janice, in the pic).
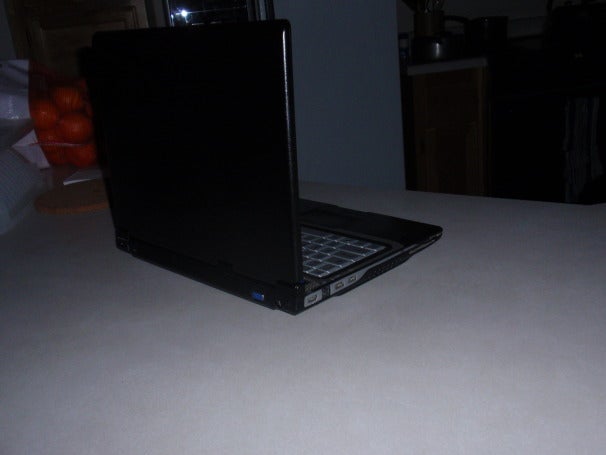
From the back:
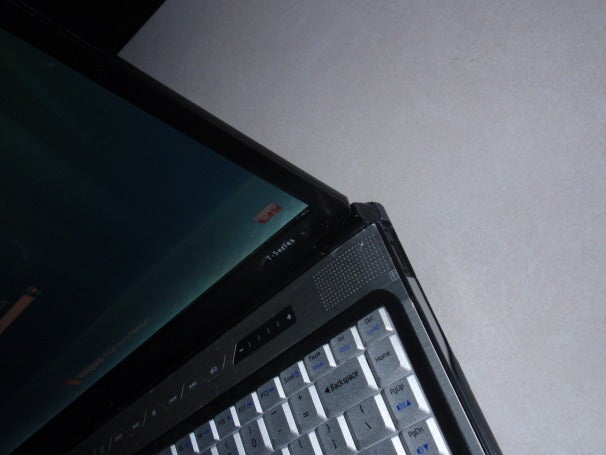
And the chipped corner [looks brand new]:
Follow James Mulroy on Twitter and on StumbleUpon to get the latest in microbe , dinosaur , and death ray news .

Source: http://feeds.pcworld.com/click.phdo?i=1abe5465f7d1bbee8dafff228987e9c0
Rockwell Automation Rogers Communications Saic Salesforce Com Samsung
No comments:
Post a Comment